Demo days are a great place to try out new ski gear and see what’s new in the industry. While at a demo day at Pico in Vermont, I was introduced to the BootCap (the official branded spelling is bootcap™–one world all lower case). The team at Wintersteiger was in the process of rolling out this new invention to ski shops on in the East and had an ample supply to test.
They had a fun magenta color that I readily agreed to try. They looked great and didn’t add any bulk or weight to my boots–what’s the harm. Well, now that I’ve had them on my boots for 40+ ski days I want to tell you about them and I want you to consider this easy and clever way to keep your feet warm during your ski season.
 Keep Your Feet Ten Degrees Warmer with Ski BootCaps
Momtrends Media
How the BootCap Works
Ski boots are NOT designed to be warm. The outside of our boots is a hard plastic, this shell stinks at providing insulation. And the part of the foot we all know that matters is our toe box. Cold toes can ruin a ski day.
The BootCap is made of high-density foam. They promise to keep skiers’ feet up to 20° warmer without the need for expensive boot heaters or liners. They work by adhering right to your ski boot. They offer insulation directly to the exterior of a ski boot’s toe box. Unlike heated boot liners or socks, there is no need to worry about apps, charging, or batteries.
This unique solution utilizes closed cell EVA foam, one of the best insulative materials available, to keep heat from escaping the boot, leaving skier’s feet warmer and happier during a long day on the slopes.
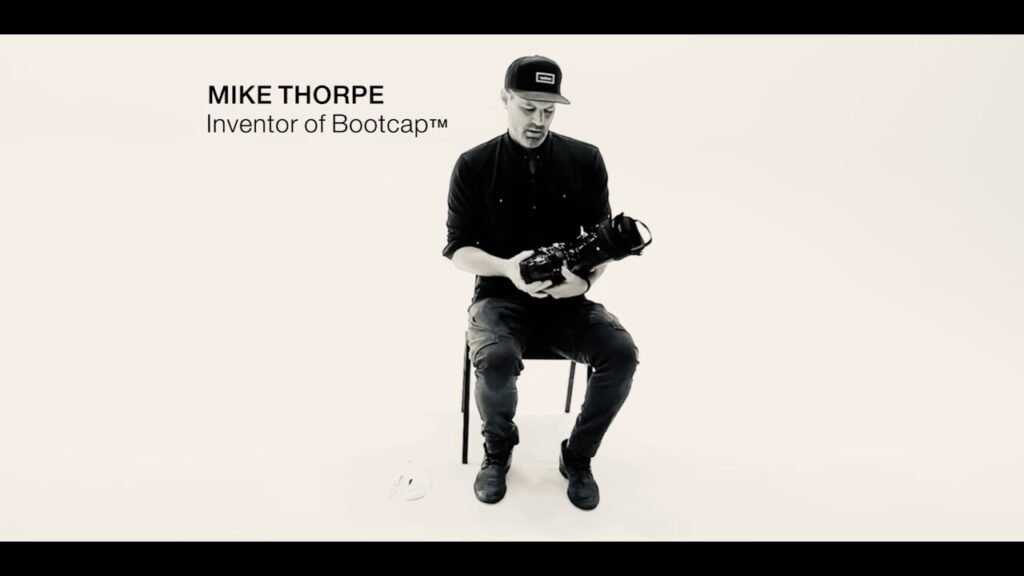
BootCap Video
Applying the BootCap
You can take them into your local ski shop to have them put on, or do them at home. All orders ship with both a left and right BootCap. To determine which is which, ensure that the logos are on the outermost edges when installed.
- Make sure your boot is clean, dry and warm. It’s ideal to do this inside when you aren’t in a rush. Thoroughly clean the toe of the boot using isopropyl or rubbing alcohol.
- Figure out the positioning. This is a big deal. When adhering the BootCap to the boot make sure you set it up so it doesn’t interfere with your binding. If your are doing them at home, you can even have your boot set in your ski so you make sure you’ve got it set up correctly. That’s where the “spacing jig” comes in. Place the spacing “jig” above toe lug. This is the space needed to keep the BootCap clear of contact with the ski bindingIt’s a strip designed to keep you from installing the BootCap too low where it might interfere with your ability to clip in.
- Mark the center spot on your boot and on the bottom of the BootCap before you adhere them to the boot. You’ll feel how it fits best. Give it a try BEFORE you remove the adhesive. Make sure you are confident about the placement! The manufacturer recommends tracing the BootCap position before you remove the adhesive backing. Double check everything once it is set, it’s done, and it you pull it off, it’s wrecked.
- Apply pressure by running your fingers along the two strips to ensure a firm bond between the foam and adhesive. Once bonded, peel off the protective layers of the adhesive tape exposing the tacky side. Pro Tip: for best results, please use a heat gun or hair dryer to warm the back of the adhesive for just 5 seconds before peeling off. Heating the adhesive before peeling will allow it to come off more easily and without tearing.
- Follow the marks you made and match the center of the BootCap to the center of the boot toe. Press firmly on the top section first and extend pressure to the outer edges. Then press around the lower part of the BootCap to the corners. Massage the entire BootCap with firm pressure for one minute to ensure all gaps have as much contact as possible.
- Let the BootCap set for a few hours before taking it out in the snow.
Installation video
Ski Mom Testing of the BootCap
On this first ski day I couldn’t really tell if they were working. It wasn’t that cold and my feet were already warm thanks to my boot heaters. It wasn’t until I started testing them in the wild that I truly became impressed.
To test, I kept my boot heaters off on one foot and then kept the boot heaters off on both feet. The result? Happy feet all the way around. Most notably, on those windy bitter days that seem to get you cold at your core, these boot caps deliver!
I’ve worn them on my boots for three months and the adhesive has held strong. They’ve been through snow, rain and slush and are still going strong.
Due to the nature of materials used and the nature of skiing, BootCap offers a product warranty valid for one year from the original date of purchase.
 Ski Mom Testing
Momtrends Media
BootCap Testing
While my testing might not exactly be rigorous, the folks at BootCap definitely put in the hours. They did much more scientific testing including these
- The Freezer Test: They took a pair of boots and fitted one with BootCap and left the other “naked”. Digital thermometers were taped inside the liner of each ski boot in the toe area, and stuffed identical towels into the top of each boot to simulate a skiers’ lower leg. Without any type of heat source added to the boots, the initial measurements read 71°F (room temperature). Then we placed both boots in a -15°F freezer and took temperature readings every five minutes for one hour. As expected, the temperature of both boots dropped, but the boot equipped with BootCap stayed an average of 15°F warmer.
- The Field Test: They conducted a side-by-side test of two boots; one fitted with BootCap and the other left “naked”. With digital thermometers taped inside the liner of each ski boot in the toe area, this five-hour test started inside a car at 68°F. Outside, the temperature was 30°F (14°F wind chill). After stepping out of the car and onto the slopes, the temperature of the BootCap equipped boot stayed in the high 60° range for the first 2.5 hours while the “naked” boot’s temp quickly fell, eventually leveling off in the mid 40°s. After 5 hours, the BootCap boot was in the mid 50º range and the “naked” boot dropped into the low 40°s. The resulting data showed an average temperature gradient of 10°F over the entire day proving that BootCap will keep skier’s feet warmer for longer.
Bottom Line on BootCaps
I like to think of myself of somewhat of an expert on keeping feet warm. I’ve tested both the Lenz and Hotronic heated socks (both great, but expensive and a bit of a pain to maintain). I’ve also tested heated insoles (this is what I currently use)–they again can be a bit fussy, require charging and are pricey. The great thing about the BootCap is it is a “set it and forget it” solution.
Do they work as well as customized $400 footbed boot warmers?
No.
Are they worth $50?
Absolutely YES.
The BootCap is a cost-effective way to protect your feet from the cold. They aren’t going to work on days it’s -20, but they will work well below zero. And they are ideal for ski families that are a on a budget, but want warm feet. In fact, I like them SO MUCH, I have become a BootCap distributor, so the Ski Moms can get them easily. How’s that for belief!
 We love the BootCap
Compare them to the Boot Glove
The Boot Glove is a neoprene shell that slides over your boots. They do work, but I don’t like them as much. The good news is these gloves can go on and off, unlike the BootCap. Once the cap is on your boot, it’s not coming off!
Here are the three reasons I don’t like boot gloves
- I found the Boot Gloves fussy. The are a pain to put on outside and they moved around on my boot, sometimes making it hard to click into my binding.
- They look goofy.
- The bottom frays. We’ve had to reinforce our boot gloves with duct tape because the’ve shredded (see above note…they look goofy)
Ready to try them? Get your pair at REI here
More Ways to Keep Your Feet Warm
- Ski boot heaters are better than heated socks
- Gear to help you stay warm on the coldest days
- 12 Ways to Recycle and Resell Old Ski Gear
PIN IT!
Use Pinterest to save your favorite family travel features. Be sure to follow our Ski Moms Pinterest Board.
The post Keep Your Feet Ten Degrees Warmer with Ski BootCaps appeared first on Mom Trends.